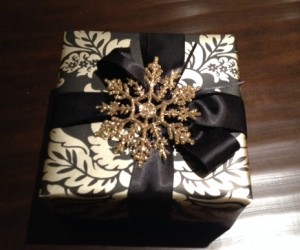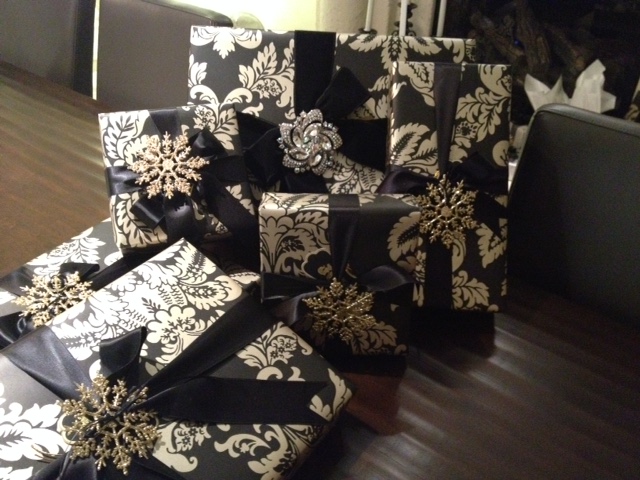
I found this beautiful gold and black damask wallpaper on clearance – makes for lovely wrapping paper
I can’t count the many times family and friends have thanked me for presenting them with a beautifully wrapped gift. I am always pleased to hear their appreciation for the effort, and thought you might be interested in a few very basic steps that I use to create a gift that is beautifully wrapped.
First and foremost, I personally prefer a solid colored wrapping paper. This doesn’t mean it will be any more or less beautiful; it’s simply a personal preference. Secondly, I believe that all gifts, whenever possible, should be placed in a box to make the wrapping job easier.
- Open up your wrapping paper on a large hard surface then place the gift [that is already in a box] on the paper, measuring how much paper you will need to completely go around box and up the sides.
- Mark where you will need to cut, and remove the gift. Cut in straight lines, using a ruler if need be. Remove the extra wrapping paper, and place the gift upside down in the middle of your paper.
- On the horizontal side of the paper, bring the paper up and tape to the bottom of the gift, take the other horizontal side, folding the edge under so you have a smooth crease and no jagged ends, tighten the paper, and place on top of the other taped down end.
- Now for the sides – fold the short sides inward and then fold one of the larger straight ends over. Again, the other larger end pull to tighten the paper, fold a small amount of the edge under so you have a smooth crease and no jagged ends, then tape this down.
- Do the same for the other side.
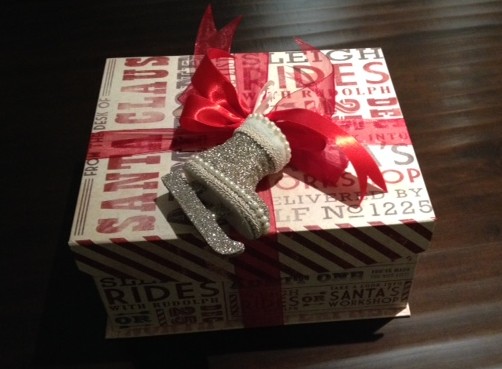
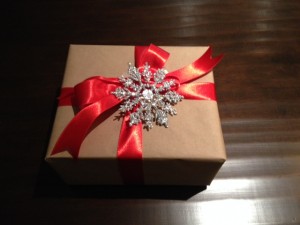
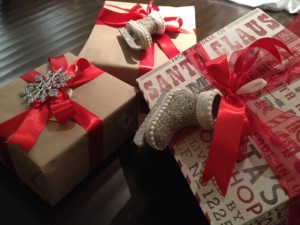
Nostalgia box purchased at HomeSense with red organza and satin ribbon and a glittery ice skate tree ornament
Now for the ribbon:
- My personal preference is organza, satin or velvet ribbon, and I always choose two different textures, widths or colours to complement the colors of the wrapping paper. The larger width is your main ribbon and will be wrapped around the whole gift, and the second, smaller of the two is used to add embellishments.
- To measure the wider main ribbon, do a rough calculation 2 times the width and 4 times the length of the gift. Start by keeping the end of the ribbon on the front side of the gift, and wrap the ribbon around the width of the gift. When the long side of the ribbon meets up in the center front of the gift, twist it around the end and then wrap it under and over the length of the gift, and at the front of the gift, tie and bow the two ends. This method keeps the ribbon on the back of the gift flat and when the gift is being opened the ribbon will just slide off with a gentle tug.
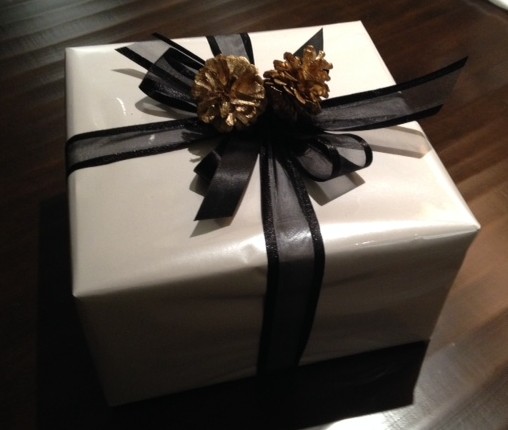
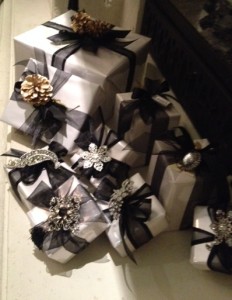
- Sometimes the gift is beautiful enough in its simplicity at this point; you will be the judge, but most often I will attach a festive embellishment such as a twig of cedar or Christmas bauble or a small toy for a child’s present. To do this, the second thinner piece of ribbon comes in – feed it behind your bow, feed it through the embellishment, and tie it to anchor it, followed by a bow.
- I believe, a gift card is an absolute necessity, especially at Christmas. I will usually place the gift under the tree to be opened Christmas morning, and when we have handed out the gifts and begin to open them, the cards help us remember who was the giver of each gift and who was the recipient. This quick addition of the card prevents any accidental switches on Christmas morning and allows the recipient to properly thank the giver.
Here are some examples of beautiful ways to wrap up those treasures.
